

When planning a kitchen renovation, it’s easy to get caught up in choosing colors, cabinets, and countertops. But the real secret to a functional and beautiful kitchen lies in its design proportions and workflow efficiency. One of the most practical principles professional designers use is the 3×4 kitchen rule.
If you’ve ever wondered, “What is the 3×4 kitchen rule, and how can it improve my kitchen layout?”, this guide will explain everything you need to know — from its meaning and importance to how you can apply it in any kitchen space.
Understanding the 3×4 Kitchen Rule
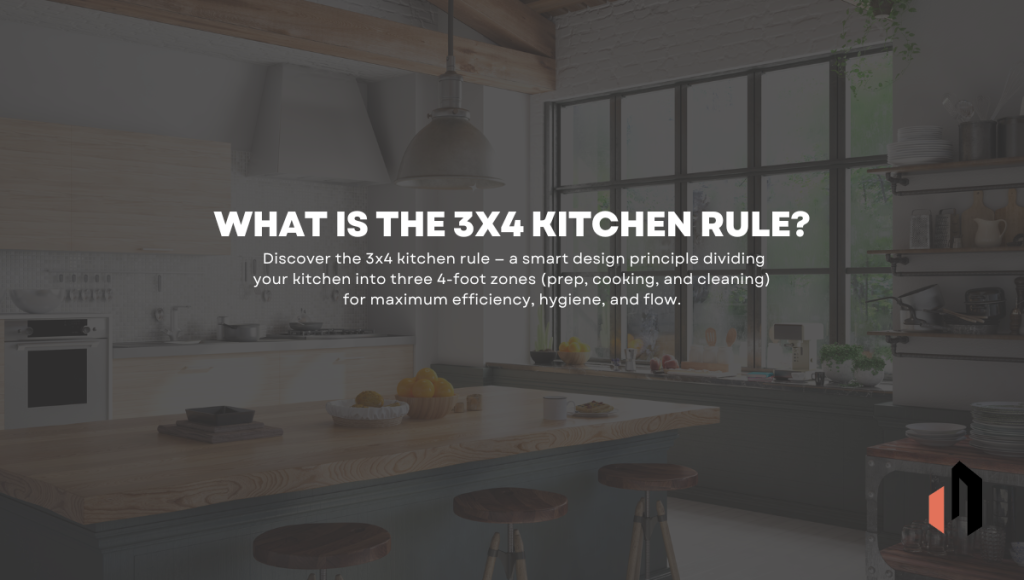
The 3×4 kitchen rule is a simple yet highly effective kitchen design guideline. It suggests that a well-organized kitchen should include three main counter zones, and each zone should ideally measure about four feet in length.
These zones represent the three essential stages of kitchen work:
- Preparation Zone (Prep Counter) – where you wash, cut, and mix ingredients before cooking.
- Cooking Zone (Cook Counter) – where your stove, oven, or cooktop is located.
- Cleaning Zone (Sink Counter) – where the sink, dishwasher, and cleanup activities take place.
Each zone needs approximately four feet (1.2 meters) of countertop space to function efficiently. While the dimensions aren’t rigid, the goal is to create distinct areas for each kitchen task to support an easy and hygienic workflow.
Why the 3×4 Kitchen Rule Matters
Whether you are doing a complete kitchen remodel or just a small renovation, following the 3×4 kitchen rule can dramatically improve the usability and flow of your space. Here are the main reasons why this design principle matters.
1. Enhances Workflow Efficiency
The 3×4 rule prioritizes function over form, allowing you to organize your kitchen based on activity zones. This minimizes unnecessary movements, reduces clutter, and ensures that every tool or appliance is placed where it’s most useful. The result is a kitchen that works with you, not against you.
2. Improves Hygiene and Safety
By separating the prep and cleaning zones, you prevent cross-contamination between raw ingredients and dirty dishes. This separation creates a safer and more sanitary cooking environment, which is especially important in busy households.
3. Maximizes Counter Space
Countertop space is one of the most valuable features in any kitchen. The 3×4 rule ensures that space is distributed purposefully, giving each zone enough room to handle its specific tasks without overcrowding other areas.
4. Balances Aesthetics and Functionality
The rule also helps create a visual balance in your layout. A kitchen that follows the 3×4 guideline looks organized, symmetrical, and harmonious — while still being practical and easy to use.
5. Adaptable to All Kitchen Sizes
Even small or compact kitchens can benefit from this principle. The idea isn’t about exact measurement but about maintaining three distinct functional zones. If you can’t manage full four-foot counters, scale them down proportionally — the concept still works.
How to Apply the 3×4 Kitchen Rule in Your Design
The beauty of the 3×4 rule is that it can be applied to any type of kitchen layout. Here’s a step-by-step guide on how to incorporate it into your renovation.
Step 1: Identify Your Kitchen Layout
The first step is to determine which kitchen layout you’re working with. Common kitchen types include:
- L-Shaped Kitchen: Ideal for open plans; one leg can serve as the prep and cook area, while the other can host the cleaning zone.
- U-Shaped Kitchen: Perfect for separating all three zones along different walls.
- Galley Kitchen: Works well by placing the prep and cooking zones on one side and the cleaning zone on the other.
- Island Kitchen: The island can be used as an extra prep or cooking area, depending on your needs.
Understanding your layout will help you decide where each four-foot counter zone should be placed for the best flow.
Step 2: Divide Your Kitchen into Three Distinct Zones
Let’s look at how each zone functions within the 3×4 kitchen rule.
1. Preparation Zone
- Ideal location: Near the refrigerator or pantry for quick access to ingredients.
- Recommended space: At least four feet of counter area.
- What to include: Cutting boards, knives, mixing bowls, and small appliances like blenders or food processors.
- Tip: Good lighting is essential here since most hands-on tasks happen in this area.
2. Cooking Zone
- Ideal location: Centered around the stove, cooktop, or oven.
- Recommended space: Four feet or more for ease of movement.
- What to include: Pots, pans, spices, oils, and utensils within easy reach.
- Tip: Ensure proper ventilation and heat-resistant surfaces around this area.
3. Cleaning Zone
- Ideal location: Around the sink and dishwasher.
- Recommended space: Roughly four feet of counter area to manage both dirty and clean dishes.
- What to include: Soap, sponges, drying racks, trash and recycling bins.
- Tip: Keep landing space on both sides of the sink for stacking dishes.
Step 3: Align It with the Kitchen Work Triangle
The kitchen work triangle is another foundational design concept that connects the sink, stove, and refrigerator — the three main points of activity.
When combined with the 3×4 kitchen rule, it creates a kitchen that’s both efficient and comfortable. The triangle defines movement, while the 3×4 rule defines workspace organization.
Ensure that the path between these three points is short and unobstructed, so you can move easily from prepping to cooking to cleaning.
Design Tips to Maximize the 3×4 Kitchen Rule
Here are some expert recommendations from Renovation Master to get the most out of this principle:
1. Use Materials to Define Zones
Choose countertop materials strategically. For example:
- Quartz is ideal for the prep zone due to its durability and hygiene.
- Granite works well in the cooking zone as it resists heat.
- Laminate or composite surfaces are practical near the sink for easy cleaning.
2. Maintain Proper Clearance
Ensure you have at least 36 inches of walkway space between counters to allow free movement and accessibility.
3. Smart Storage Placement
Each zone should have storage that matches its function:
- Prep zone: knives, utensils, and bowls.
- Cooking zone: pots, pans, and spices.
- Cleaning zone: dish racks, cleaning supplies, and waste bins.
4. Layered Lighting
Provide a mix of ambient, task, and accent lighting:
- Bright, shadow-free lighting over prep areas.
- Focused light over the stove and cooking zone.
- Soft lighting over the sink and surrounding counters.
5. Convenient Power Outlets
Install outlets strategically to power small appliances where you need them most — especially in the prep and cooking areas.
Adapting the 3×4 Rule for Small Kitchens
If you’re renovating a smaller kitchen, you can still apply the rule by adapting it:
- Combine functions: Use a shared counter for prep and cooking, but keep the cleaning zone separate.
- Add movable surfaces: Use a rolling island or folding counter as a temporary prep space.
- Go vertical: Install wall shelves and hanging racks to free up countertop space.
- Optimize workflow: Even if zones are smaller, maintain the logical order — prep → cook → clean.
Common Mistakes to Avoid
When implementing the 3×4 kitchen rule, avoid these common design errors:
- Merging zones: Don’t let the prep and cleaning areas overlap. Keep them clearly separated.
- Poor appliance placement: Ensure fridge and oven doors can open fully without blocking walkways.
- Ignoring ergonomics: Maintain comfortable counter heights and adequate lighting.
- Overcrowding the island: Keep it dedicated to one main task rather than multiple functions.
Real-Life Example of the 3×4 Kitchen Rule
Imagine a medium-sized L-shaped kitchen. On the longer wall, you reserve four feet of space near the refrigerator for prepping. The stove sits in the middle as part of the cooking zone. On the shorter wall, you place the sink and dishwasher, forming the cleaning area.
This layout ensures a natural, efficient flow from fridge to prep to cook to clean — the ideal kitchen sequence. It’s organized, comfortable, and eliminates unnecessary steps.
Key Benefits of Following the 3×4 Kitchen Rule
- Improved workflow and time efficiency
- Better hygiene and reduced cross-contamination
- Optimized counter and storage space
- Aesthetic and functional balance
- Flexible for both small and large kitchens
Final Thoughts
So, what is the 3×4 kitchen rule?
It’s a practical design guideline that divides your kitchen into three main functional zones, each roughly four feet long, to improve organization, cleanliness, and efficiency.
This rule helps you create a space that doesn’t just look modern and stylish — it works intelligently for everyday use.
At Renovation Master, we believe a well-designed kitchen is one where form meets function. By applying the 3×4 kitchen rule, you can ensure that every inch of your space contributes to smoother cooking, easier cleaning, and a more enjoyable kitchen experience.